

My Everyday Sourdough
I’ve been making sourdough at home for a while now, and over time it has become one of those things I hardly think twice about. I feed my starter, mix the dough, and work the different steps into whatever else we have going on that day.
It took some trial and error to find a method that felt simple enough to make regularly, but this is the recipe I come back to every time. It doesn’t require anything complicated, and once you get the rhythm down, most of the process is really just giving the dough time to do its thing.
This recipe uses just four ingredients and makes a beautiful, crusty loaf of sourdough. It’s simple, delicious, and the one I make in our home again and again.
This post may include affiliate links. Thank you for supporting Hurst House.
Recipe at a Glance
Makes: 1 loaf
Hands-on time: About 30 minutes
Bake time: 40–45 minutes
Total time: About 8–18 hours
Most of the time is hands-off, allowing the dough to rest, rise, and proof.
What I Use
You don’t need much to make sourdough at home, but there are a few things I reach for every time I make a loaf. I use a kitchen scale to measure everything, a large glass mixing bowl, a dough whisk, and a mason jar for keeping my starter.
For shaping and baking, I use a banneton, bread lame, parchment paper, and a Dutch oven. These are the basics I’ve found make the process simple, and once you have them, you can use them loaf after loaf.
The Ingredients
I keep my everyday sourdough simple with just four ingredients:
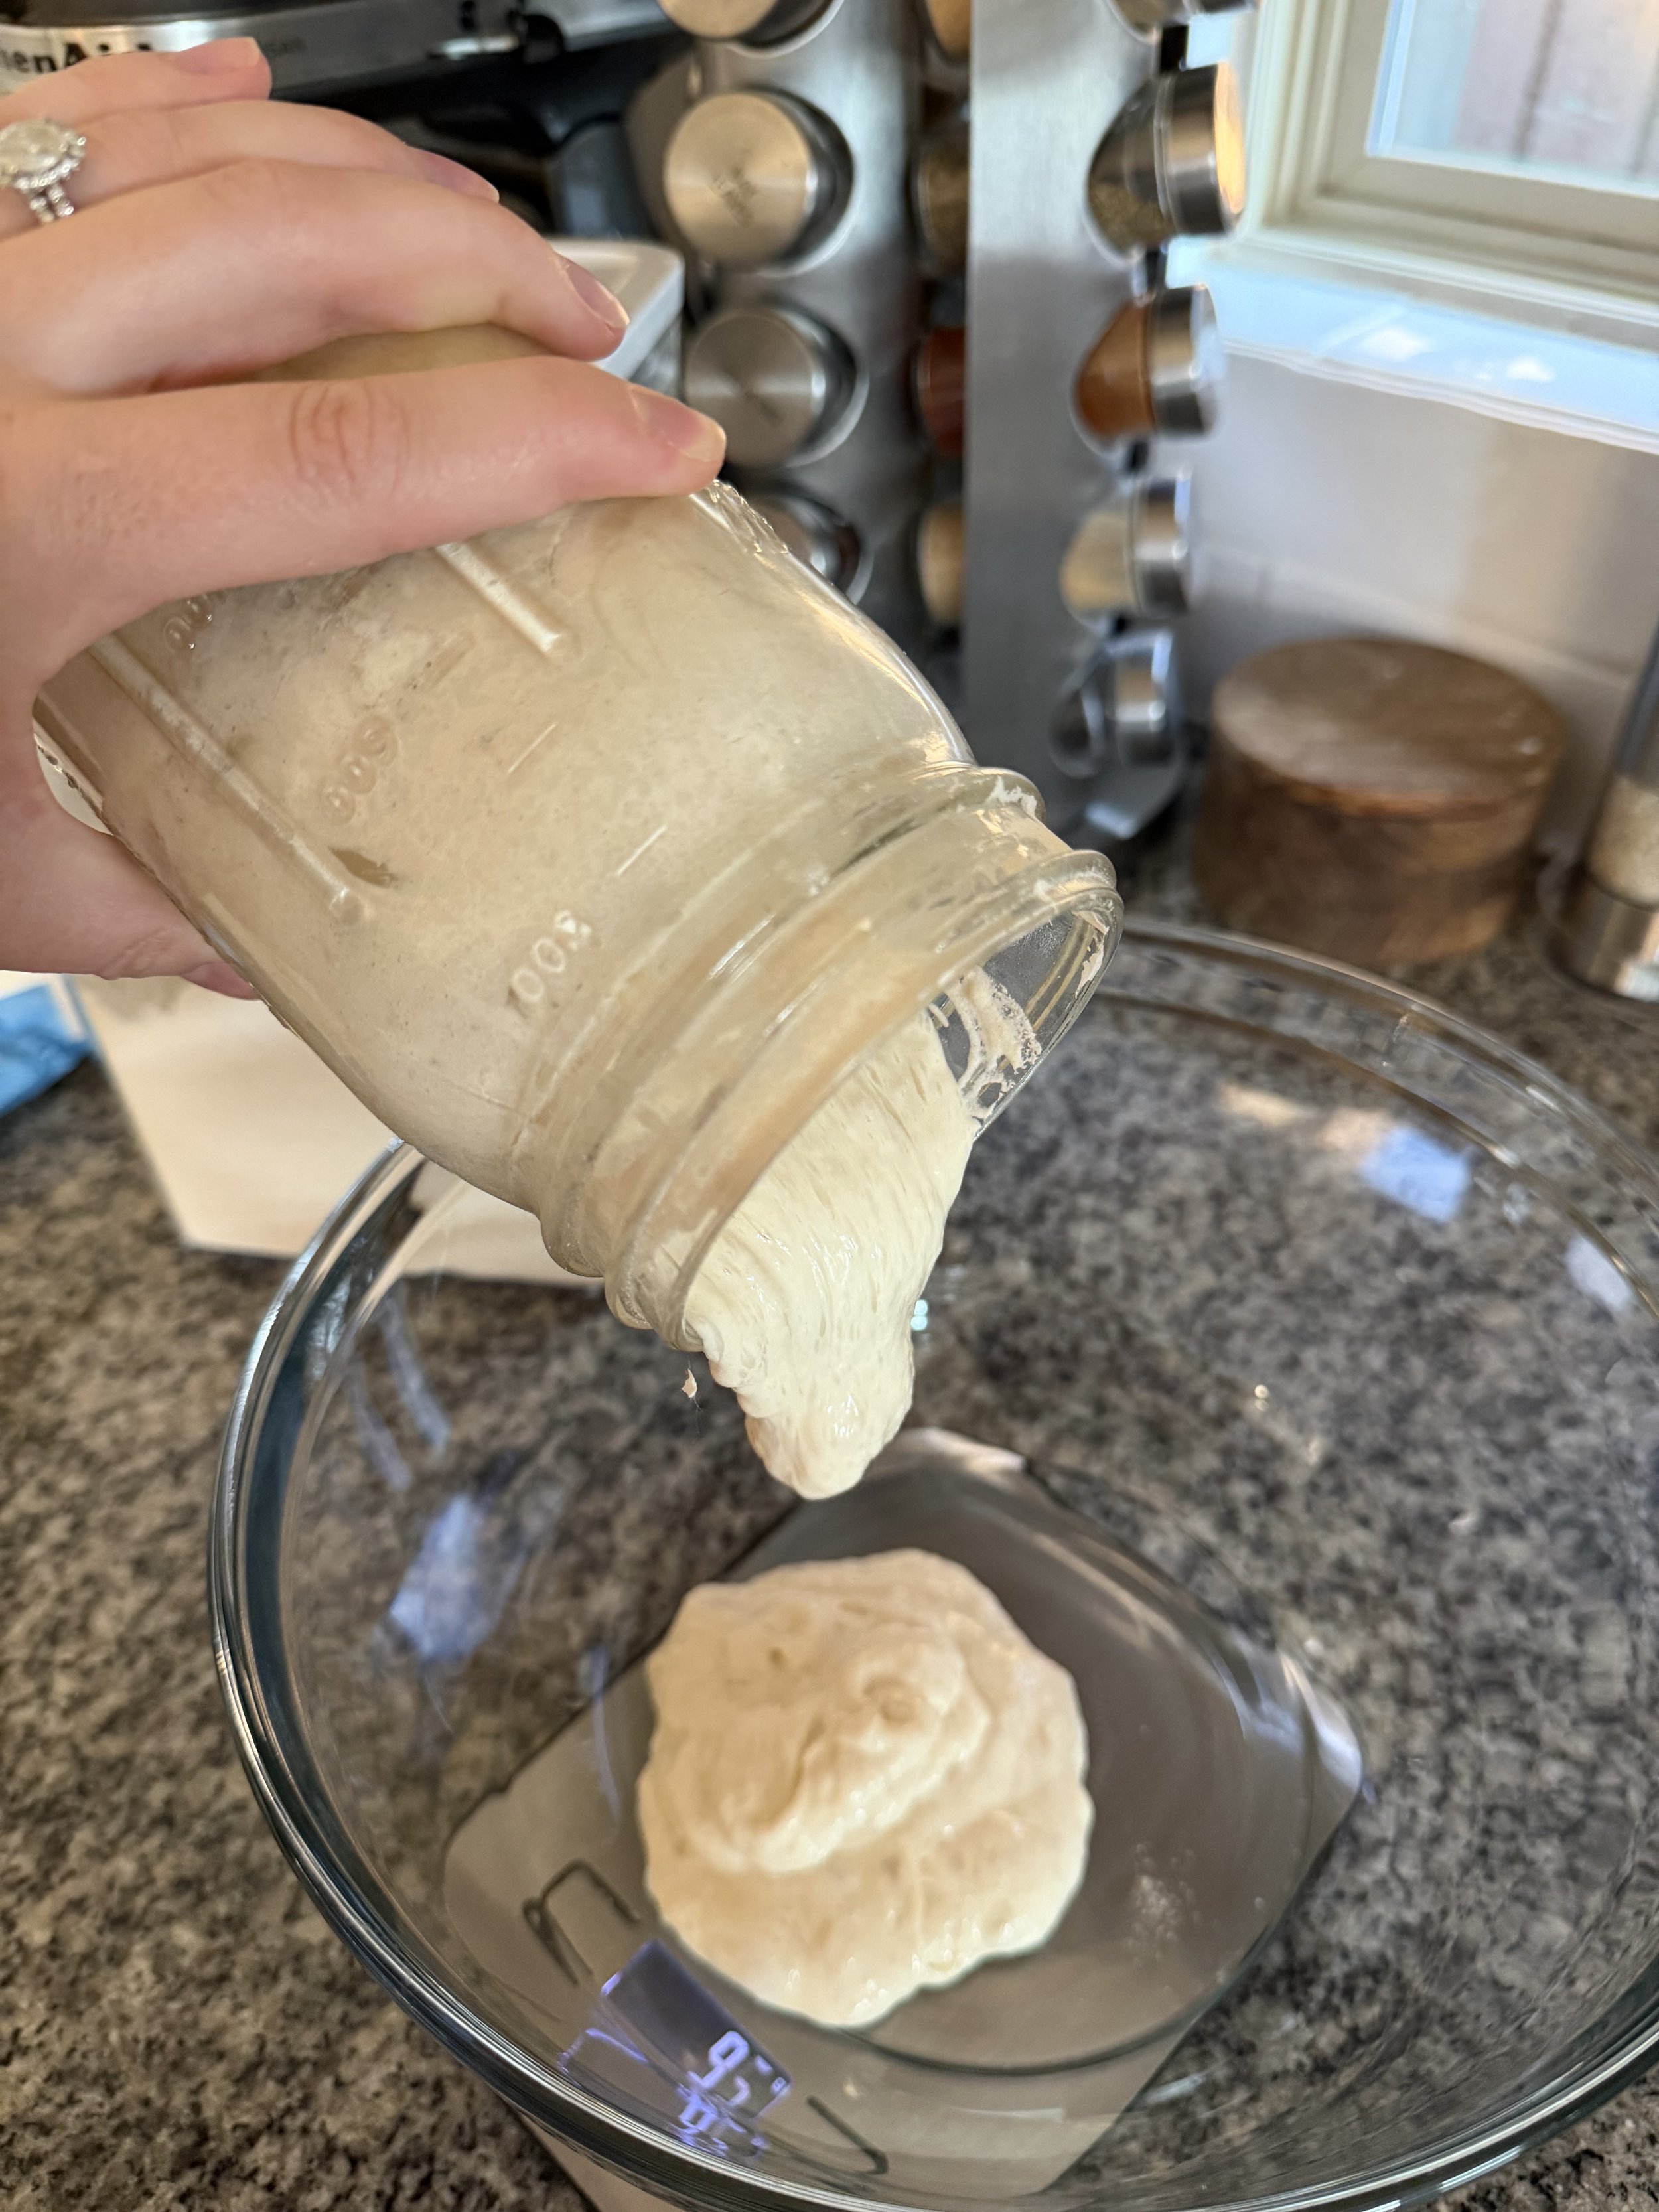
100 g active sourdough starter
375 g warm water, around 85°F
500 g bread flour
11 g salt
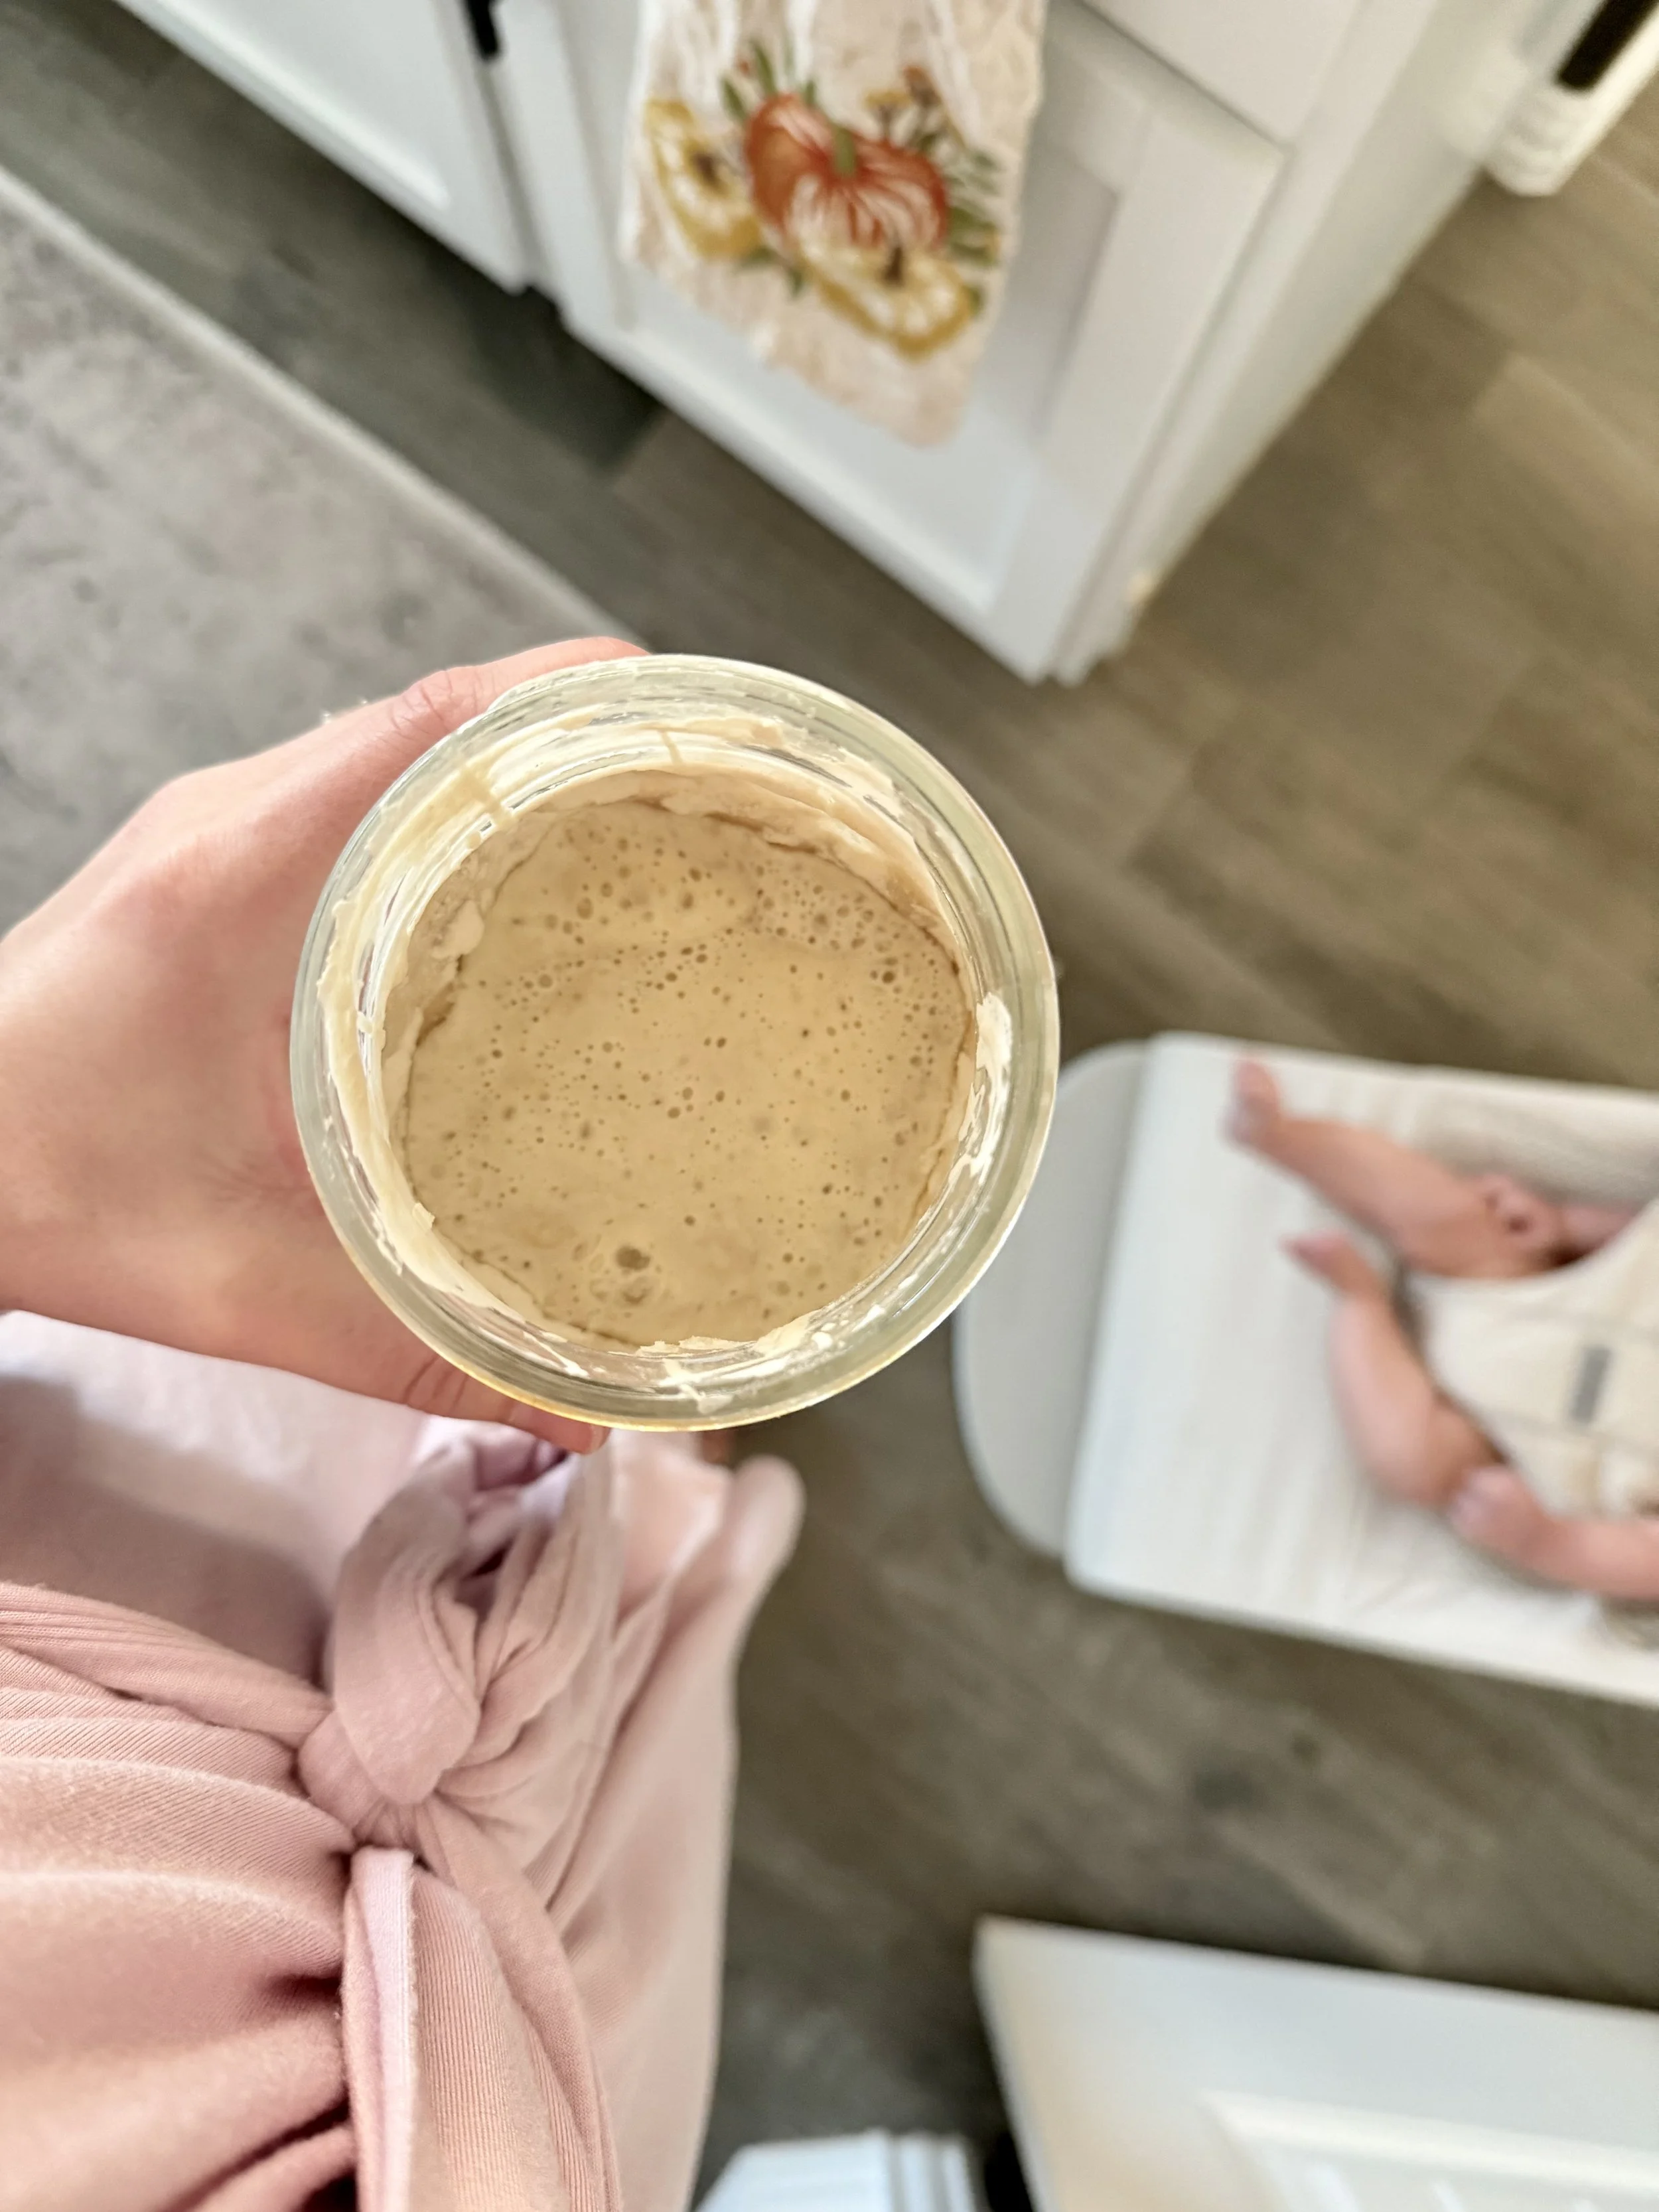
For the best results, start with a sourdough starter that is active and bubbly. I usually make my dough when my starter is at or near its peak after feeding.
How I Make My Sourdough
1. Mix the Dough
Add the sourdough starter, warm water, bread flour, and salt to a large mixing bowl. Mix everything together with a dough whisk until a shaggy dough forms.
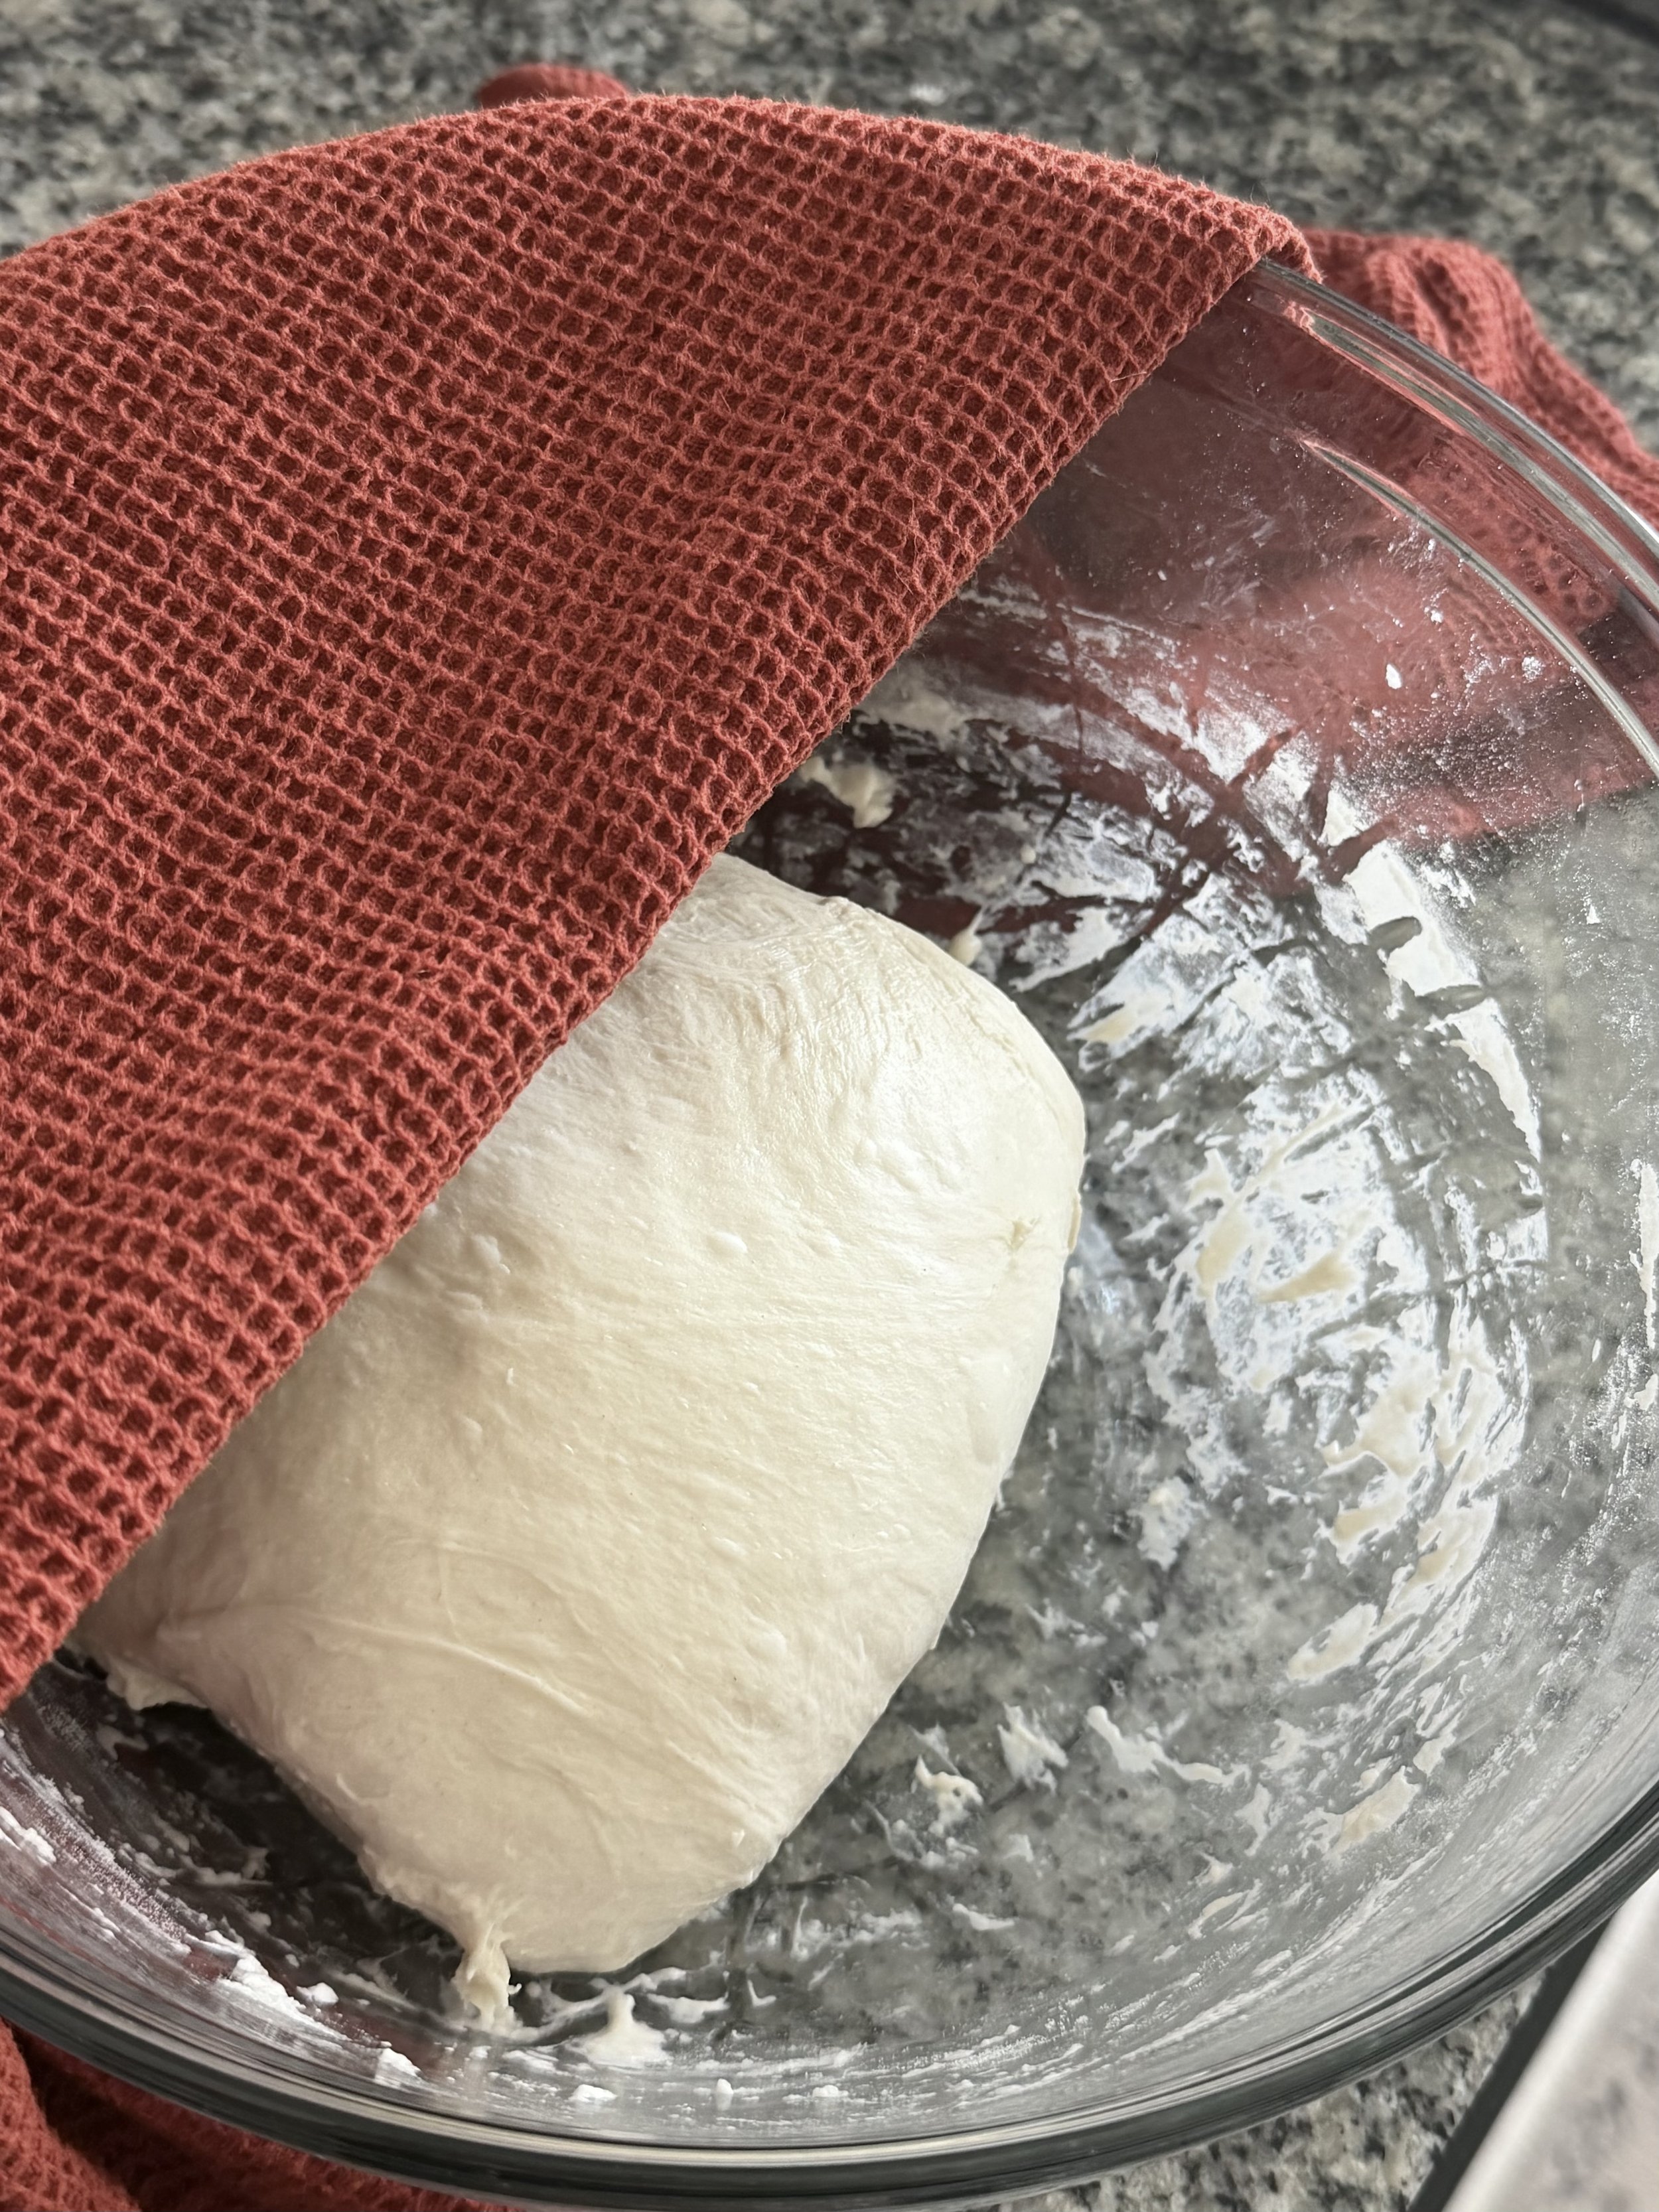
Cover the bowl with a damp towel and let the dough rest for one hour.
2. Stretch and Fold
After the dough has rested for an hour, begin your stretch and folds. Gently pull one side of the dough up and fold it over itself, then rotate the bowl and repeat until you’ve worked your way around the dough.
Complete four rounds of stretch and folds, about 30 minutes apart, keeping the dough covered with a damp towel between each round.
With each round, you’ll notice the dough becoming smoother and easier to work with.
3. Bulk Fermentation
After the final stretch and fold, cover the dough again and let it rest until it has risen by about 50 percent. In my kitchen, this usually takes around one to two hours, but the timing can vary depending on the temperature of your kitchen and how active your starter is.
I pay more attention to the dough than the clock here. It should look slightly puffed and airy and have a little movement when you gently shake the bowl.
4. Shape the Loaf
Once the dough has risen by about 50 percent, turn it out onto a clean counter and gently stretch it into a large rectangle. Fold the sides inward, then flip the dough over and use a candy cane motion to shape it into a round loaf.
Cover with a damp towel and let it rest for 10 minutes, then repeat the shaping process once more to create tension on the surface of the dough.
5. Proof the Dough
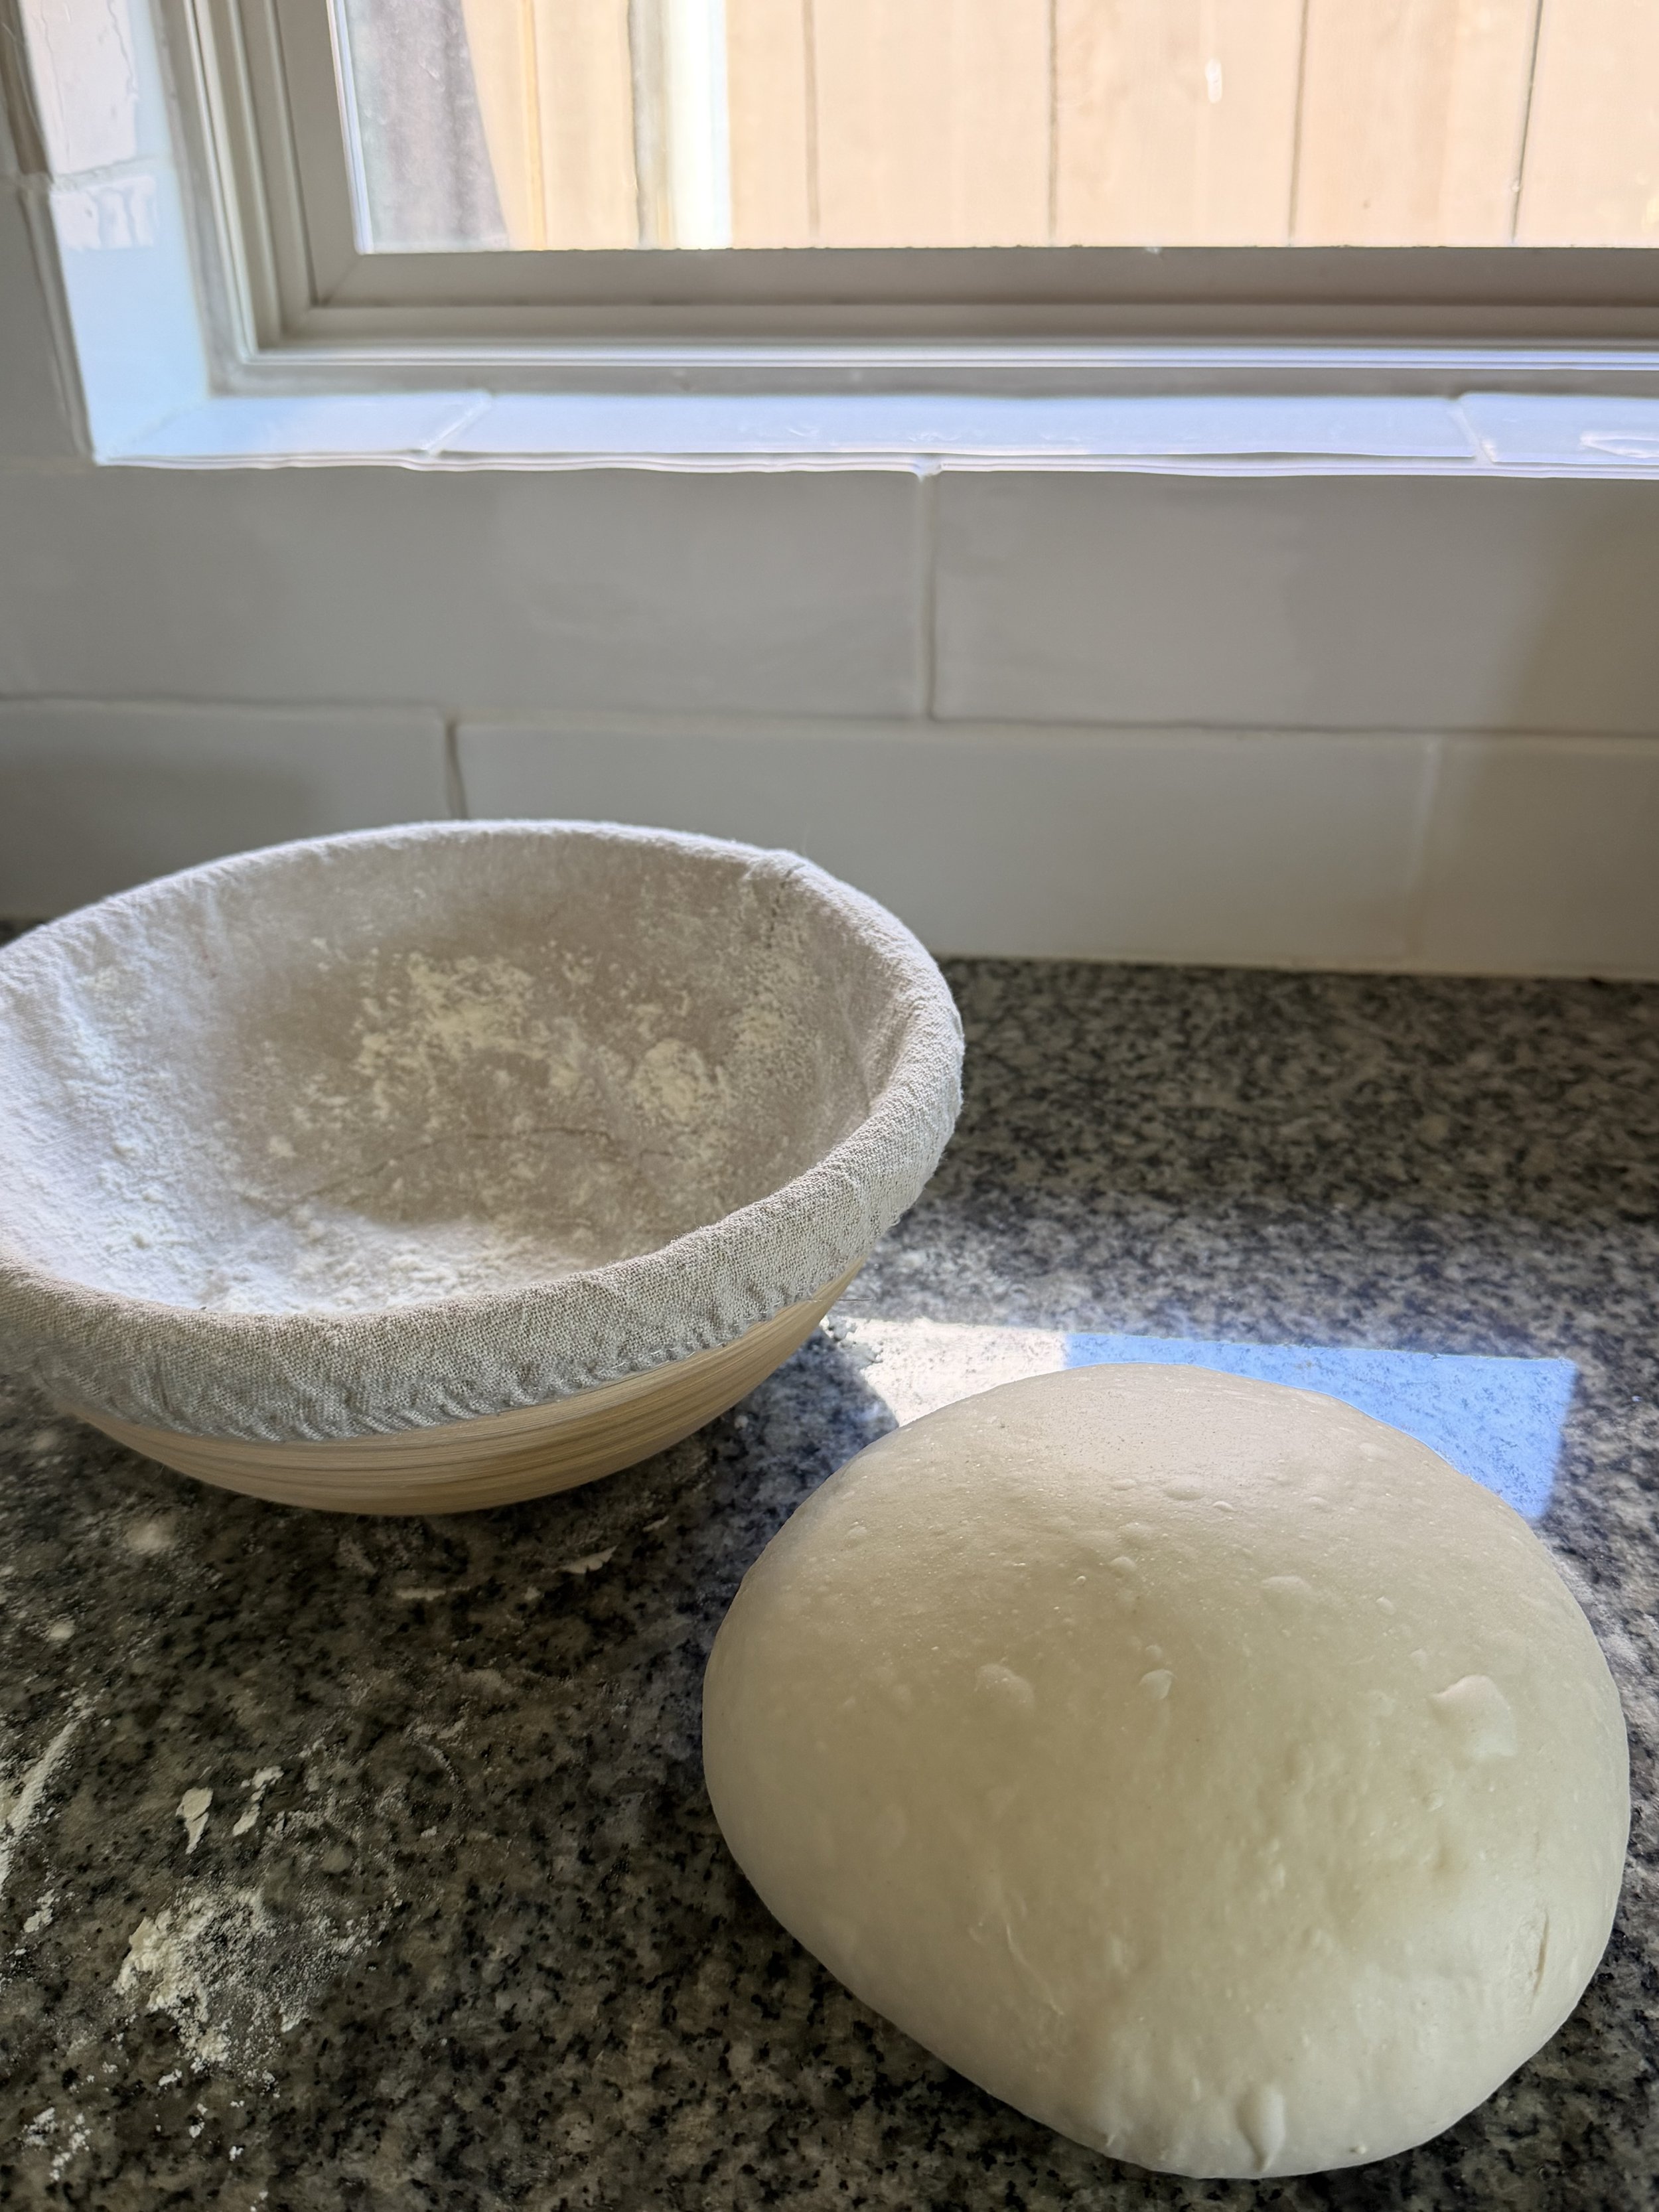
Place the shaped dough seam-side up in a lightly floured banneton and cover it with a damp towel.
From here, you can let it proof at room temperature for 2 to 4 hours, or place it in the refrigerator for 8 to 12 hours. I usually use the refrigerator method because it makes the timing easy and lets me bake the loaf when I’m ready.
The dough should rise by about 50 to 75 percent during this final proof.
6. Score the Loaf
When you’re ready to bake, place your Dutch oven in the oven and preheat to 450°F for 30 minutes.
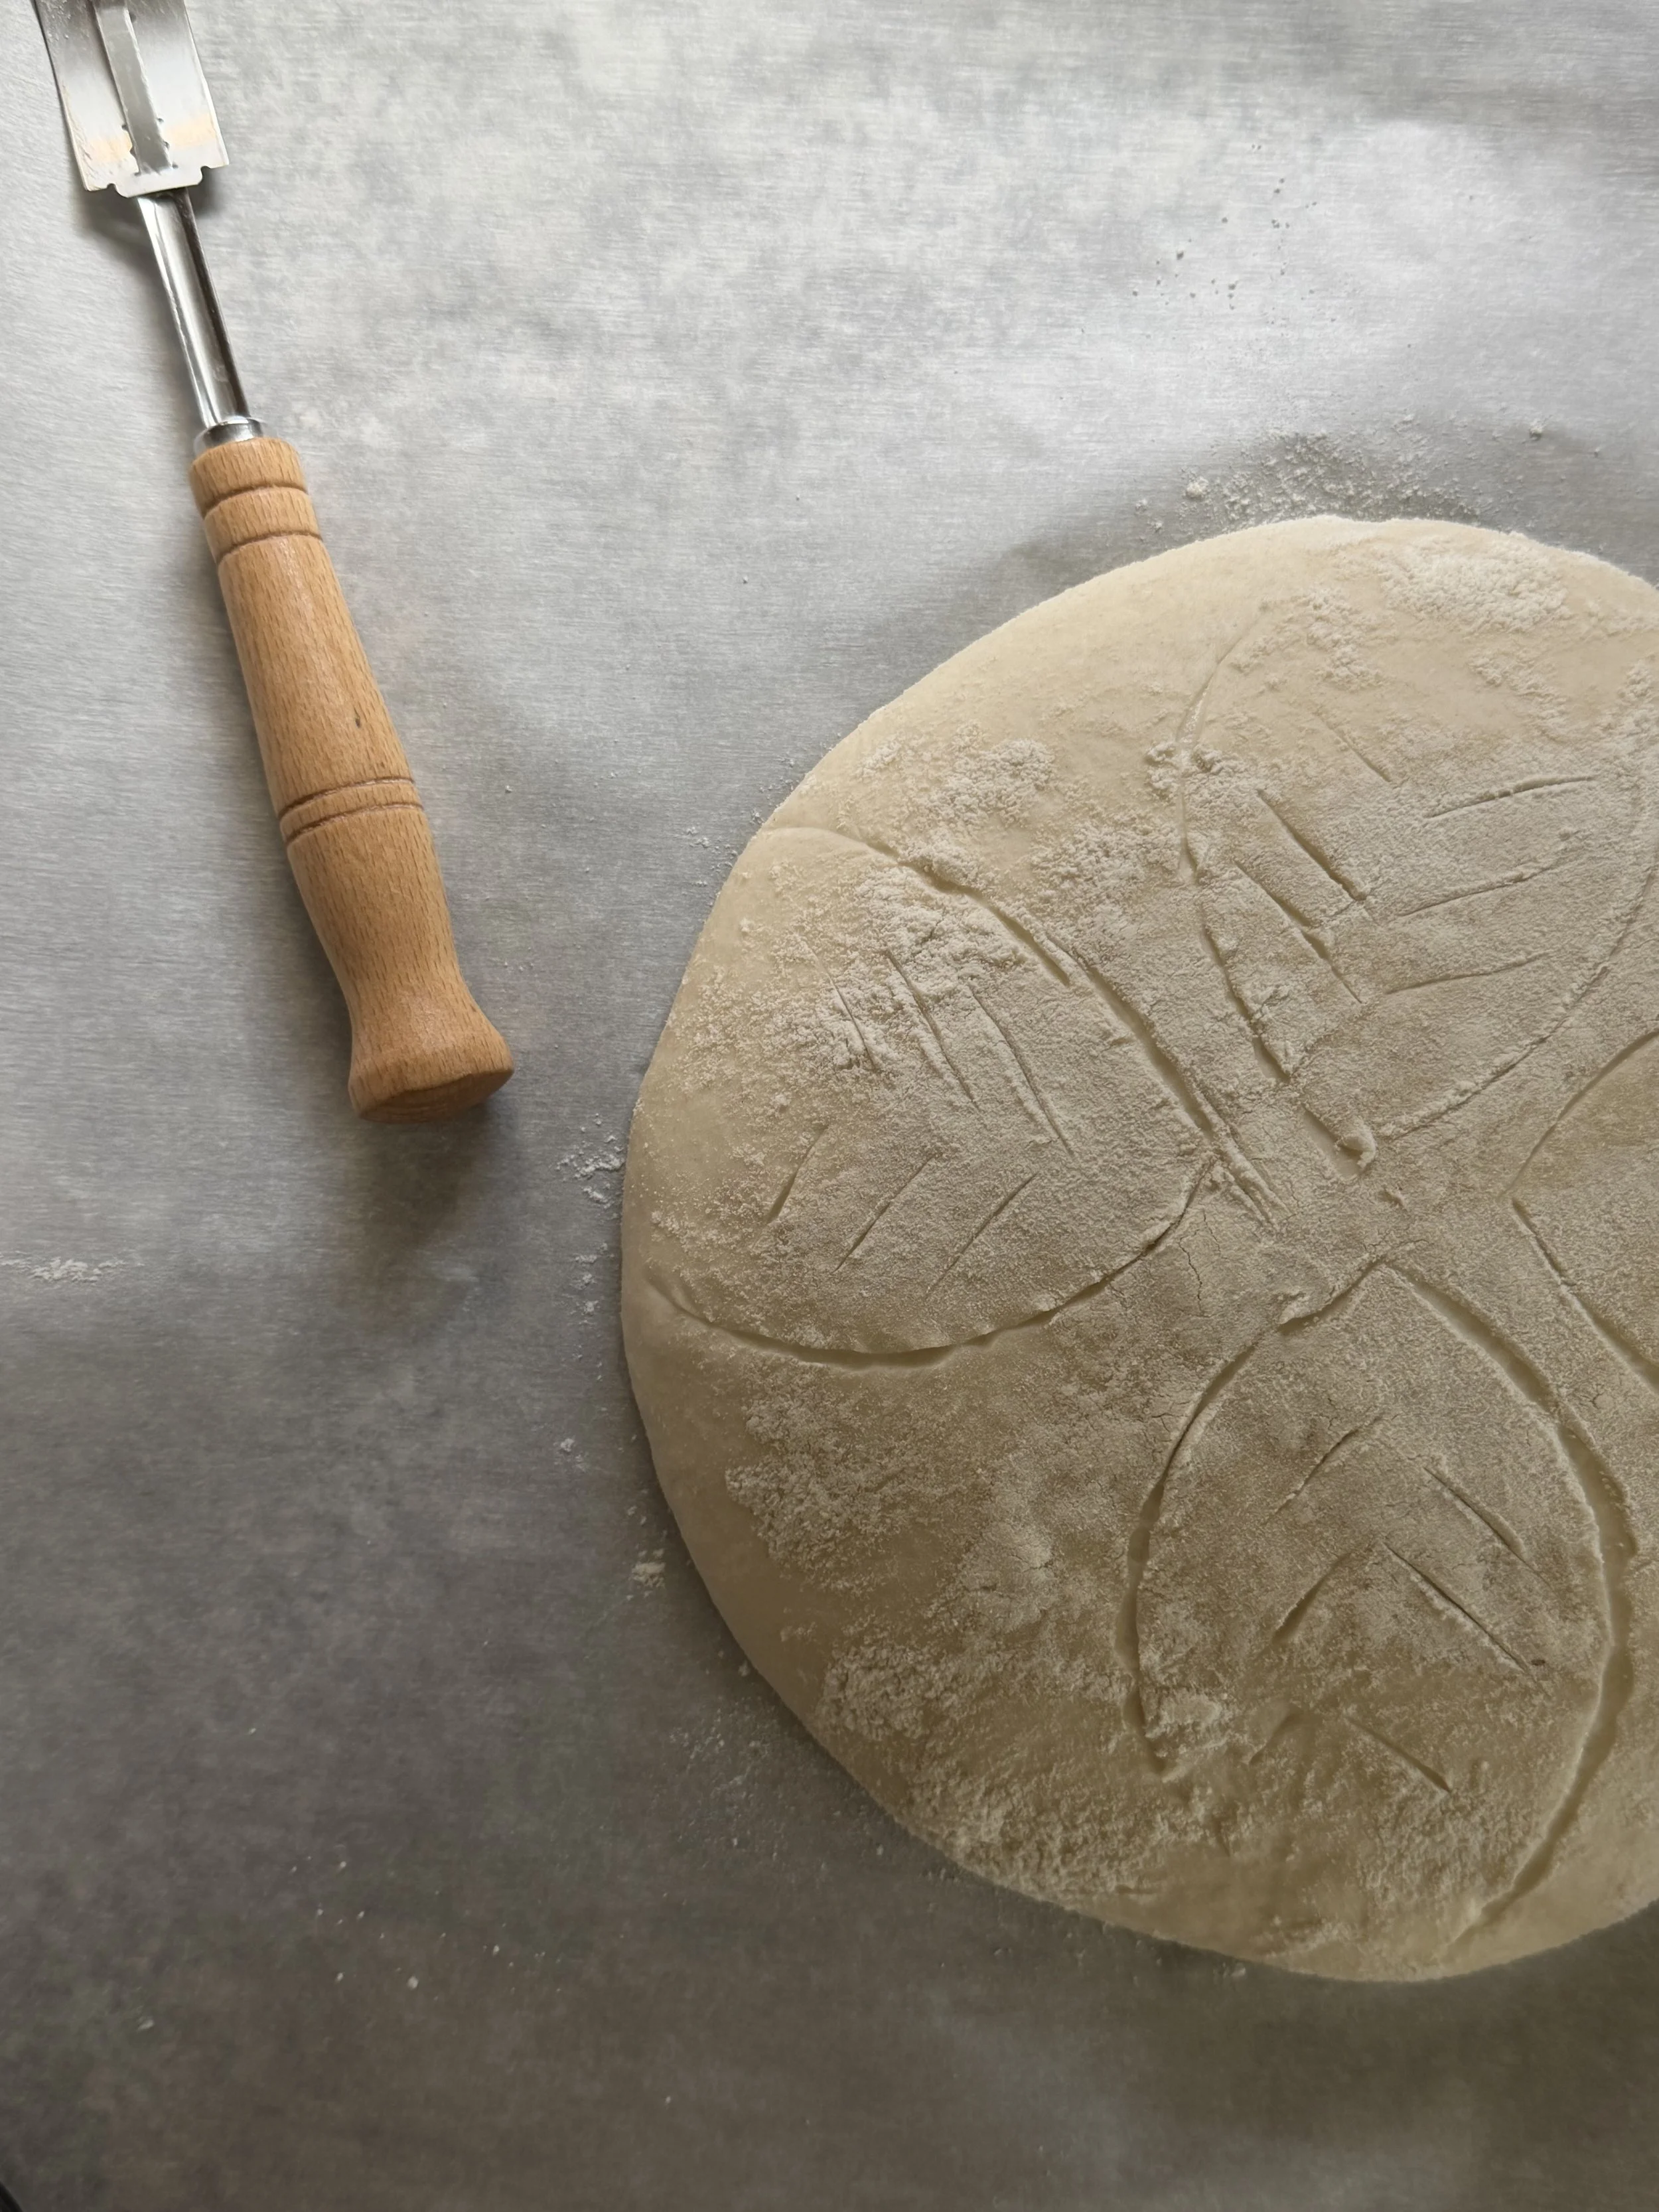
Turn the dough out onto a piece of parchment paper and lightly dust the top with flour. Using a bread lame or sharp blade, score the loaf. You can keep it simple with one deep score or add a design if you’d like.
7. Bake
Carefully lower the loaf into the preheated Dutch oven using the parchment paper. Cover and bake at 450°F for 35 minutes.
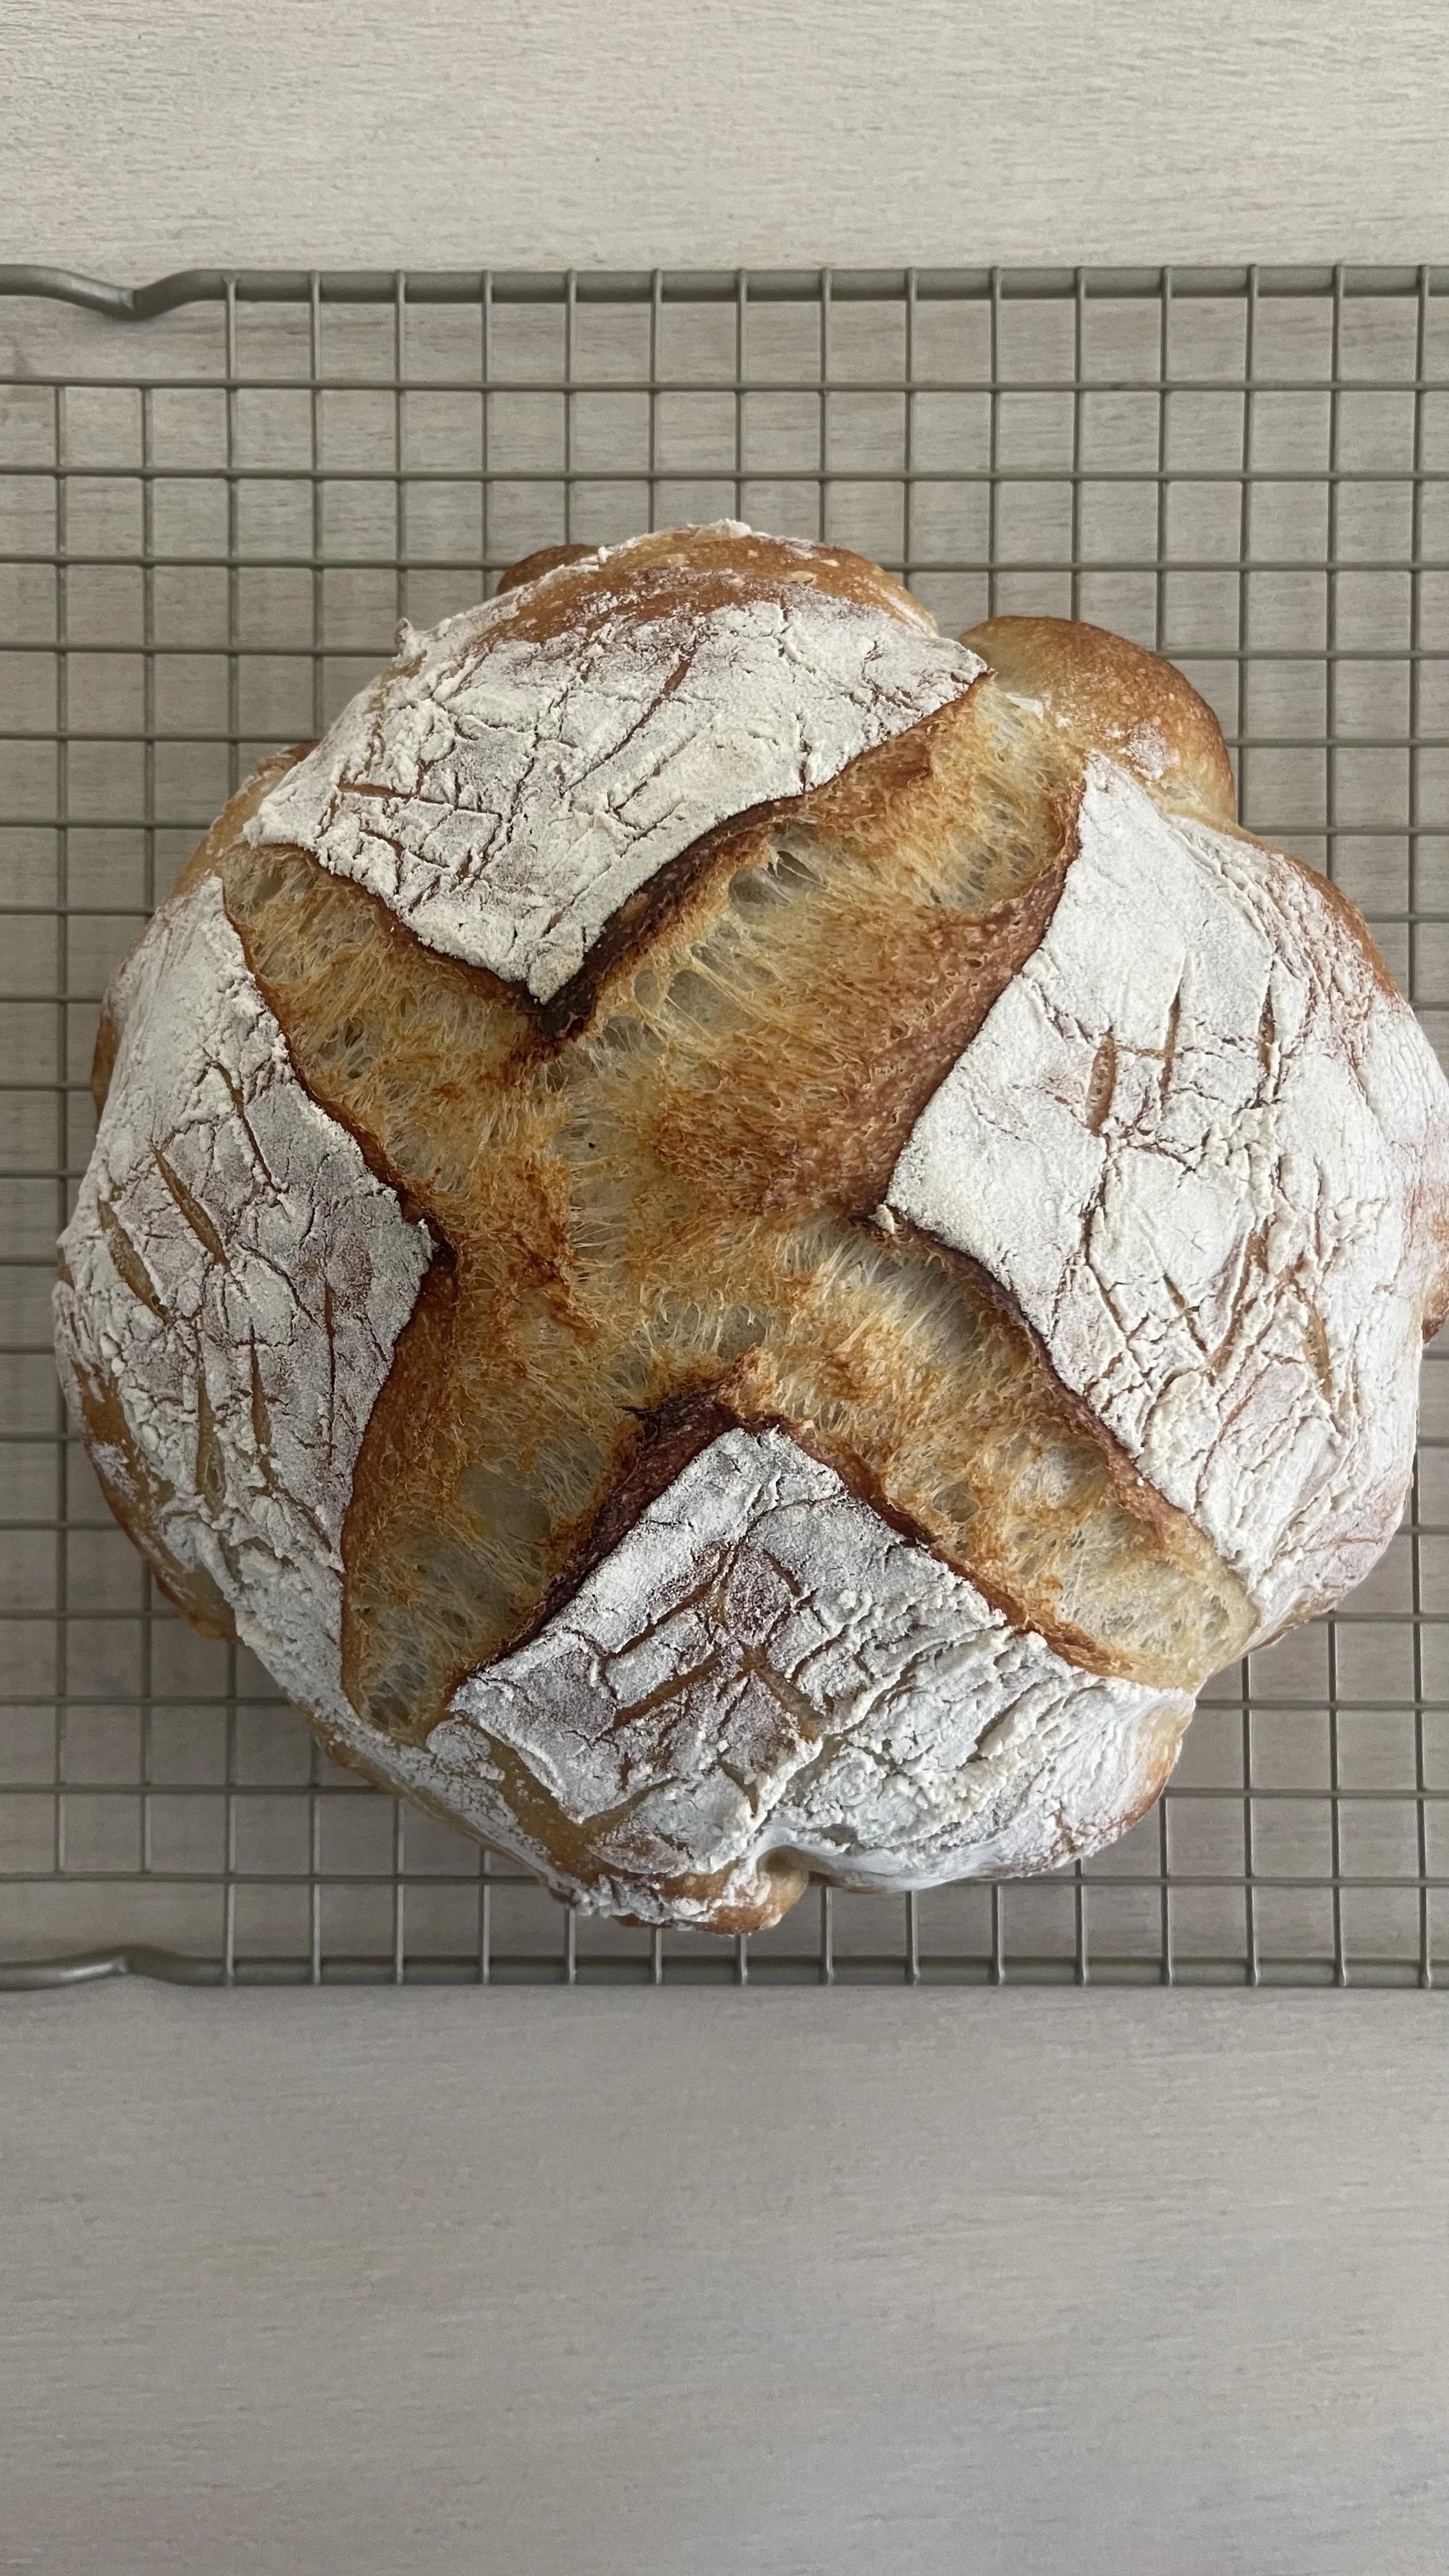
Remove the lid, lower the oven temperature to 425°F, and bake uncovered for another 5 to 10 minutes, until the crust is golden and crisp.
Transfer the loaf to a cooling rack and let it cool for at least one hour before slicing.
A Few Things I’ve Learned
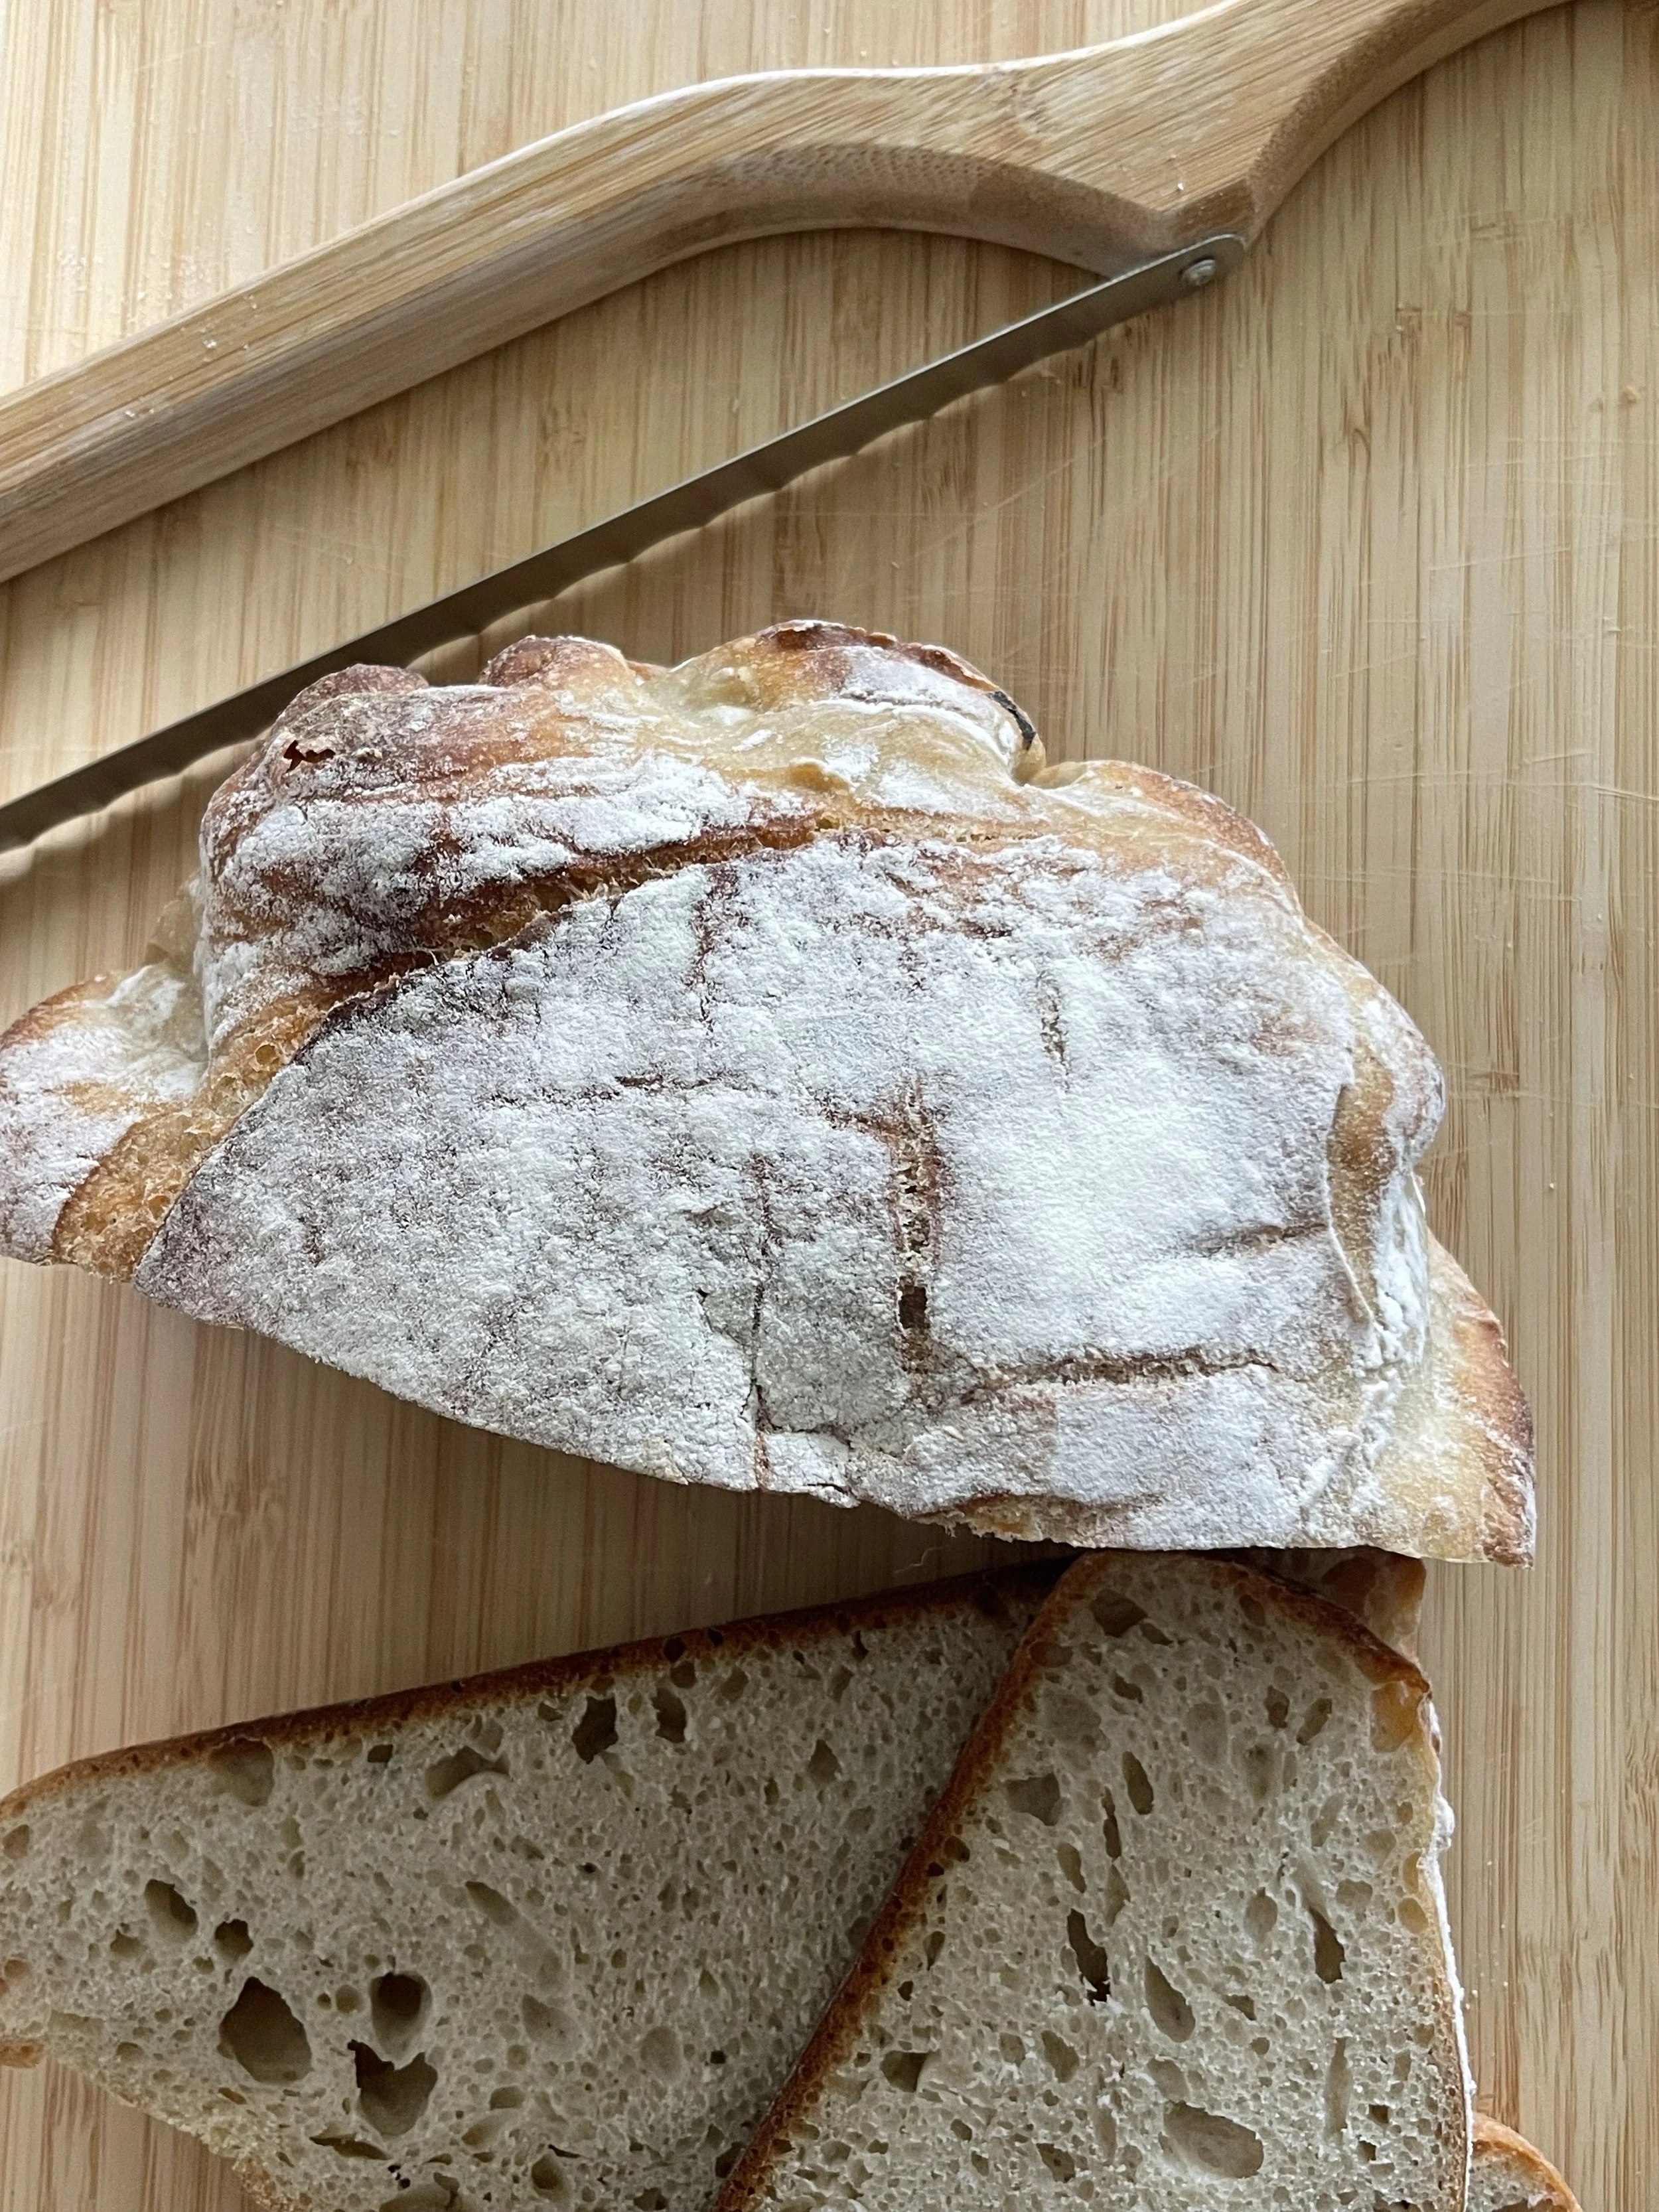
Sourdough doesn’t have to be as complicated as it can sometimes seem. The more loaves I’ve made, the more I’ve learned to pay attention to the dough itself rather than following the clock perfectly every time.
A few things make the biggest difference for me: starting with an active, bubbly starter, giving the dough enough time to rise, and letting the finished loaf cool completely before slicing. Your timing may look a little different depending on the temperature of your kitchen, and that’s completely normal.
And not every loaf comes out looking exactly the same. Some are prettier than others, but they’re almost always delicious.
My Everyday Sourdough
Makes 1 loaf
Ingredients
100 g active sourdough starter
375 g warm water, around 85°F
500 g bread flour
11 g salt
Instructions
Add the starter, warm water, bread flour, and salt to a large mixing bowl. Mix until a shaggy dough forms. Cover with a damp towel and rest for 1 hour.
Complete 4 rounds of stretch and folds, about 30 minutes apart, keeping the dough covered between each round.
After the final stretch and fold, let the dough bulk ferment until it has risen by about 50 percent. For me, this usually takes 1 to 2 hours.
Turn the dough onto a clean counter, gently stretch it into a rectangle, fold the sides inward, and shape into a round loaf. Cover and rest for 10 minutes, then shape once more.
Place the dough seam-side up in a lightly floured banneton. Proof at room temperature for 2 to 4 hours or refrigerate for 8 to 12 hours, until it has risen about 50 to 75 percent.
Place your Dutch oven in the oven and preheat to 450°F for 30 minutes.
Turn the dough onto parchment paper, lightly flour the top, and score.
Transfer to the Dutch oven, cover, and bake at 450°F for 35 minutes.
Remove the lid, lower the oven to 425°F, and bake uncovered for another 5 to 10 minutes.
Transfer to a cooling rack and cool for at least 1 hour before slicing.
This is the sourdough I make again and again. Simple, crusty, delicious, and always worth the little bit of extra time it takes.